
Connecting an LED Strip
Clip-on connectors join a COB LED strip to a power wire with no soldering, and they also let you join two lengths of strip together. The method is the same every time: cut the strip to length, then use the clip to extend or connect it. Cut only on the marked cut line — shown by the small scissor icon printed on the strip — as cutting anywhere else damages the circuit.
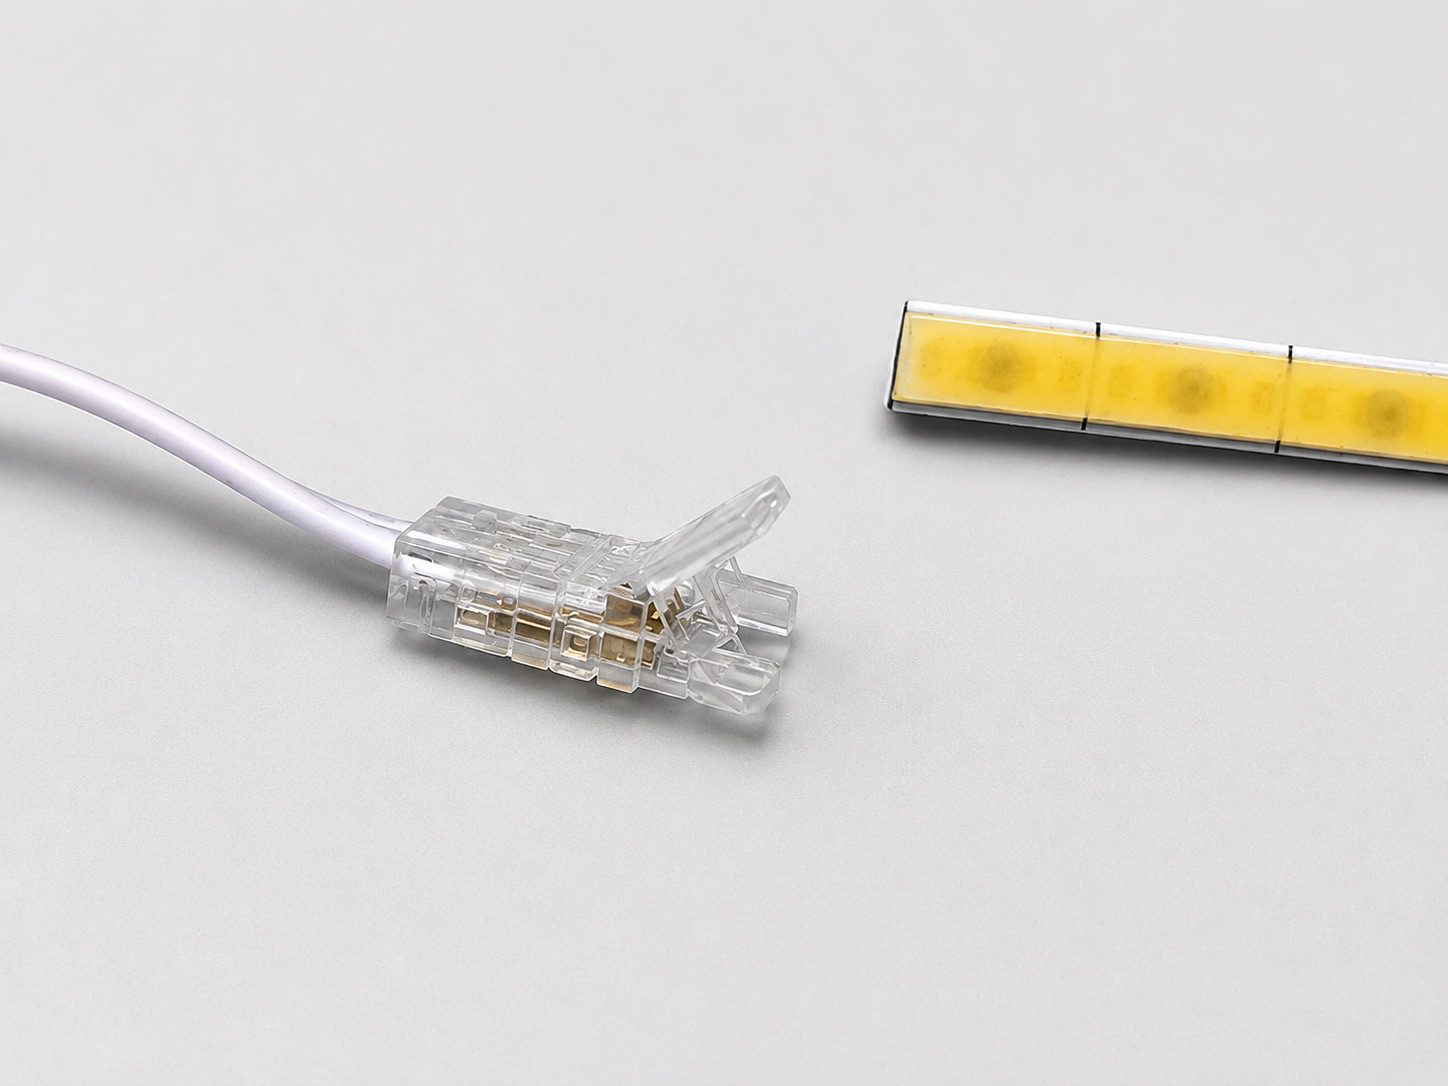
1 · Open the connector
Lift the clear flap on the clip-on connector until it stands open. Inside you'll see two metal contact pins — these are what bite into the strip's copper pads to make the connection.
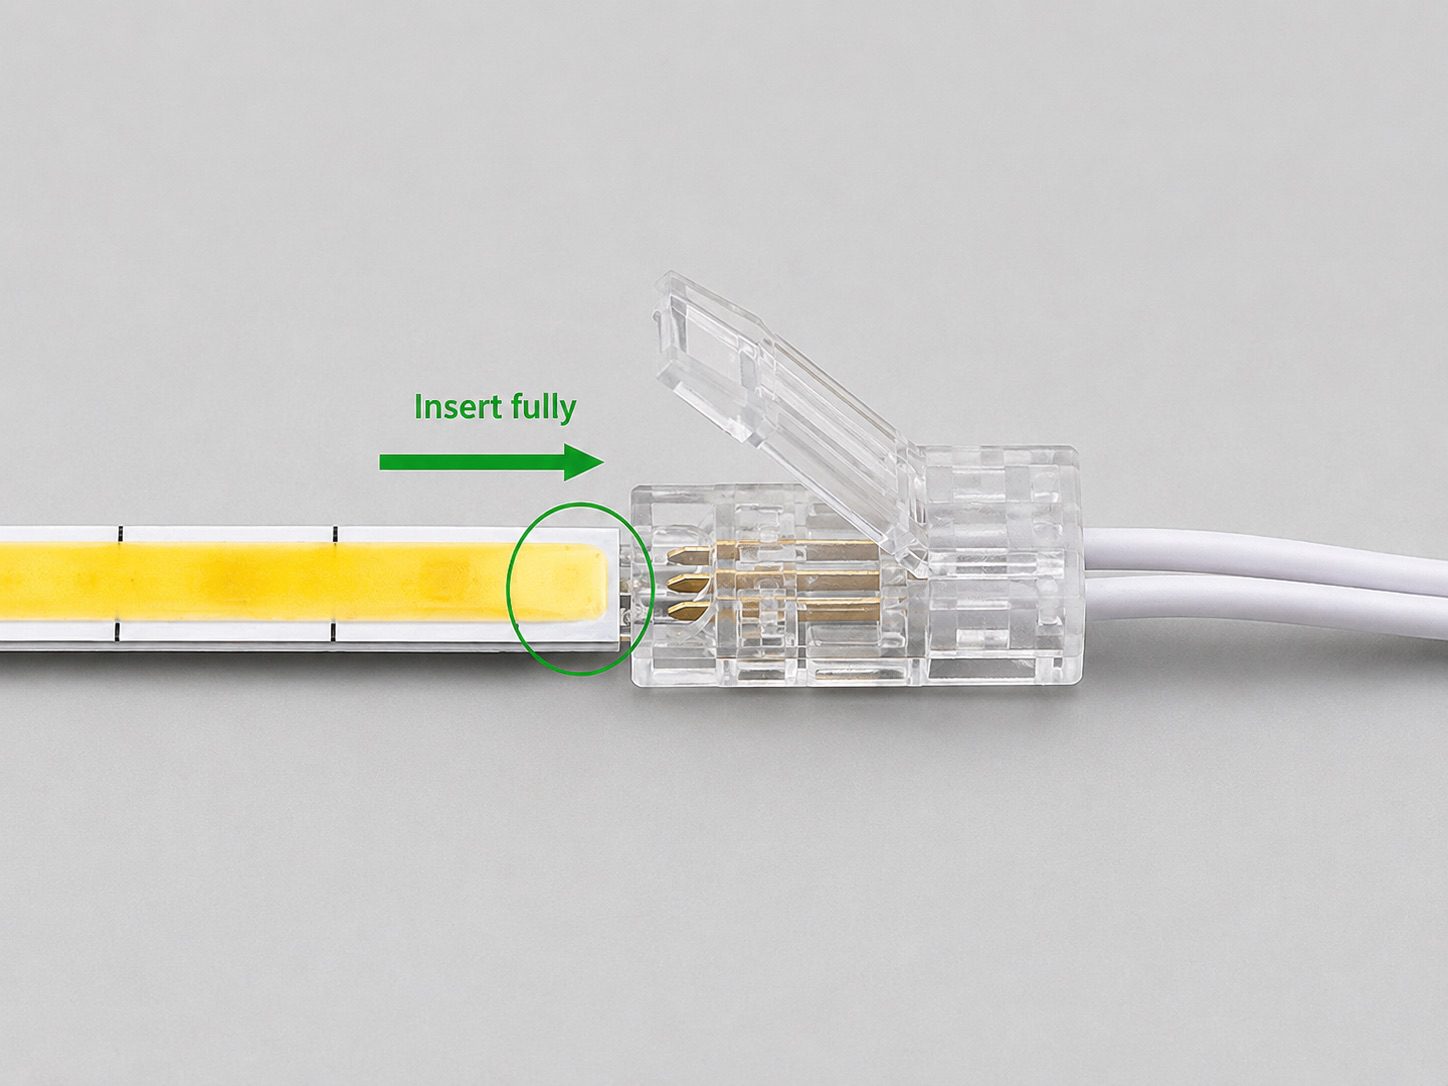
2 · Insert the strip
Slide the cut end of the LED strip into the open connector, copper pads facing down onto the contact pins. Line the cut edge up to the stop inside the connector so both pads sit under both pins. On an RGB or addressable strip, match the strip's markings to the correct pins.
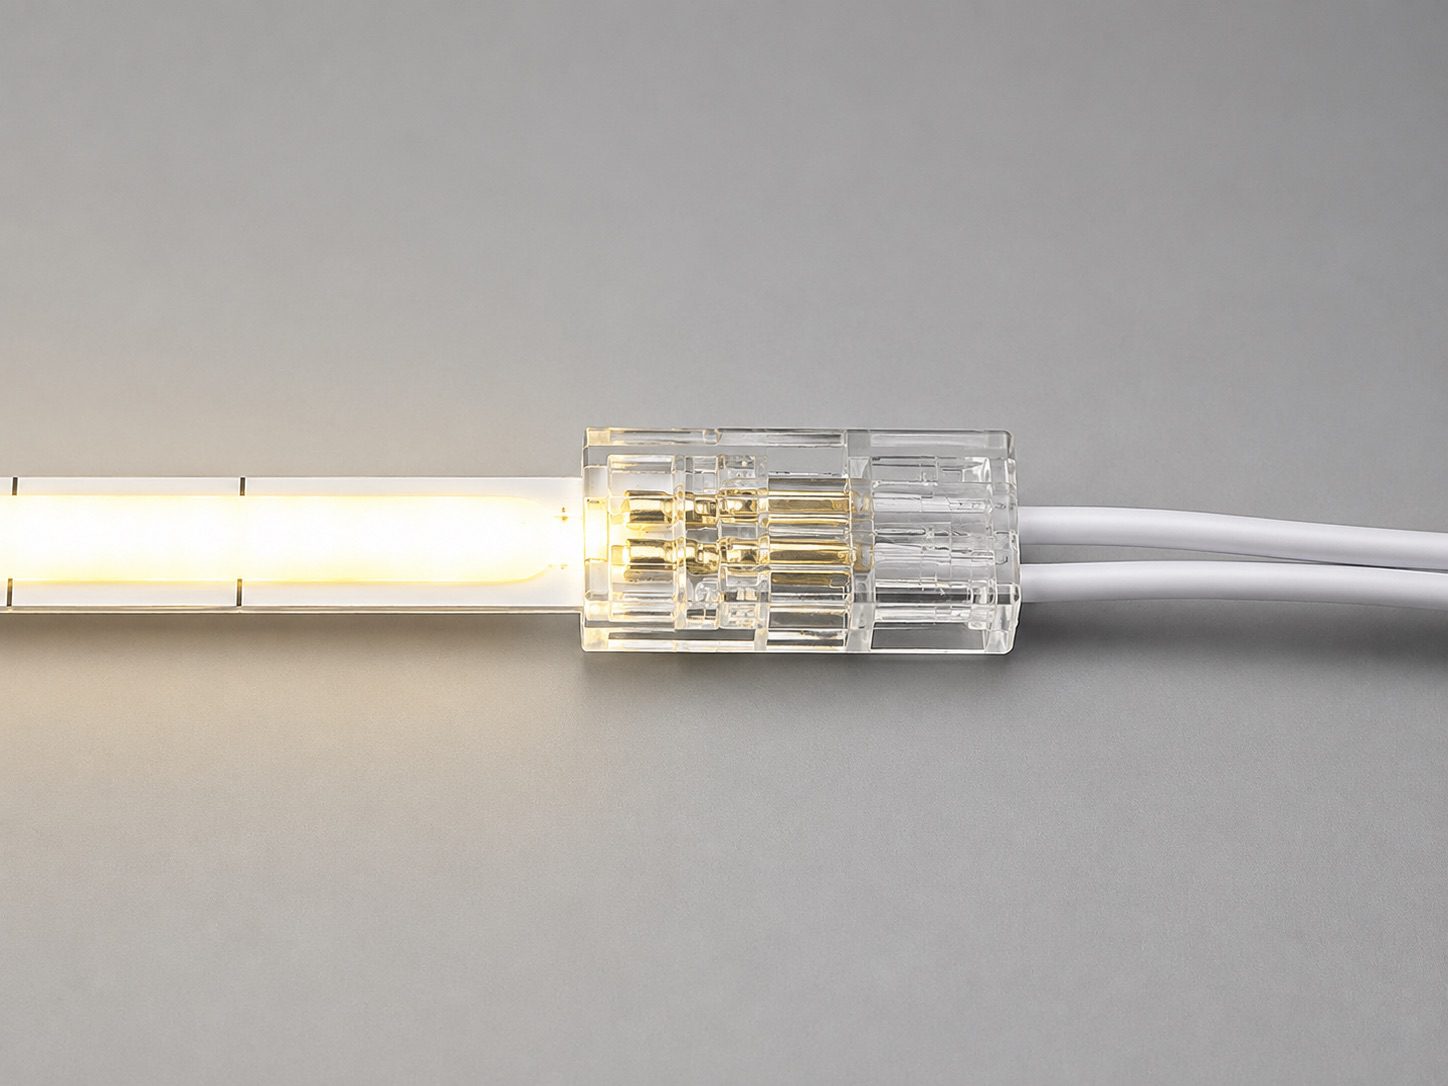
3 · Close and test
Press the flap firmly shut until it clicks — this drives the pins into the copper pads. Give the strip a gentle tug to confirm it's held. Power up: if a section doesn't light, open the clip, check the strip is seated to the stop and the pads are clean, then close again.
- Only ever cut on the marked cut line (scissor icon).
- Copper pads face down onto the connector pins.
- Slide the strip to the internal stop before closing.
- Press until it clicks, then tug-test before powering on.
Every Hobbs cabinet ships with integrated LED lighting wired and ready. Talk to us about lighting your display.
Get in touch →